If you would like to set different pricing once your product stocks reach a certain level in Shopify, you can do this by using Konigle's Markdown Plan Tool.
The tool aims to help you set specific pricing once your inventory hits a certain level. This would be very useful if let’s say you would like to implement pricing strategies based on demand such as lowering prices when stock is high or raising them when stock is low.
To use the tool, you may follow the below steps:
1. Install the Konigle app in your Shopify store.
2. From your Konigle dashboard, access Automatic Strategies.

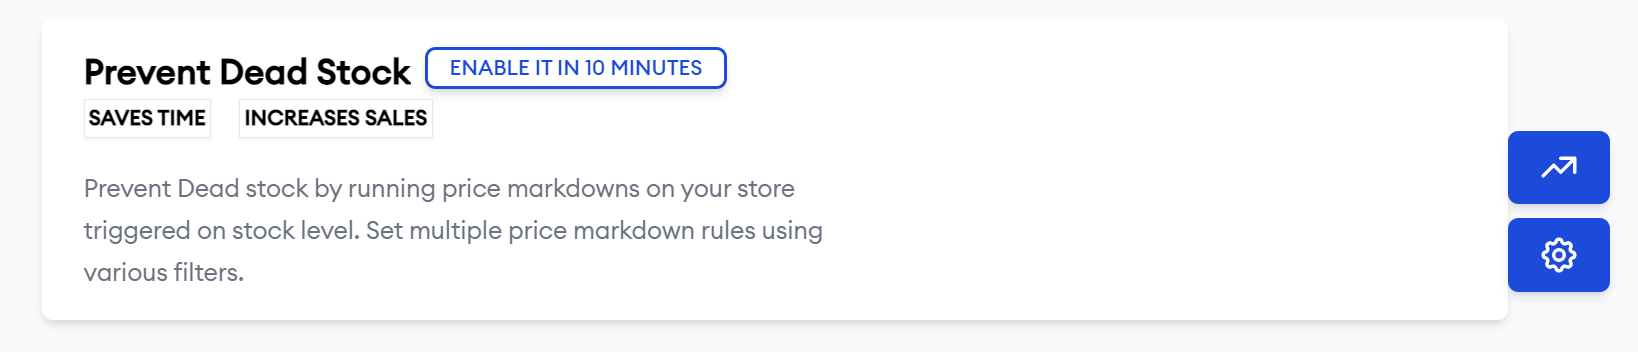
3. Head over to Prevent Dead stock tool.
4. Filter products based on conditions. You may use the dropdown button to narrow down your search. Typically, users based it on stock level to find products with either high or low stocks.
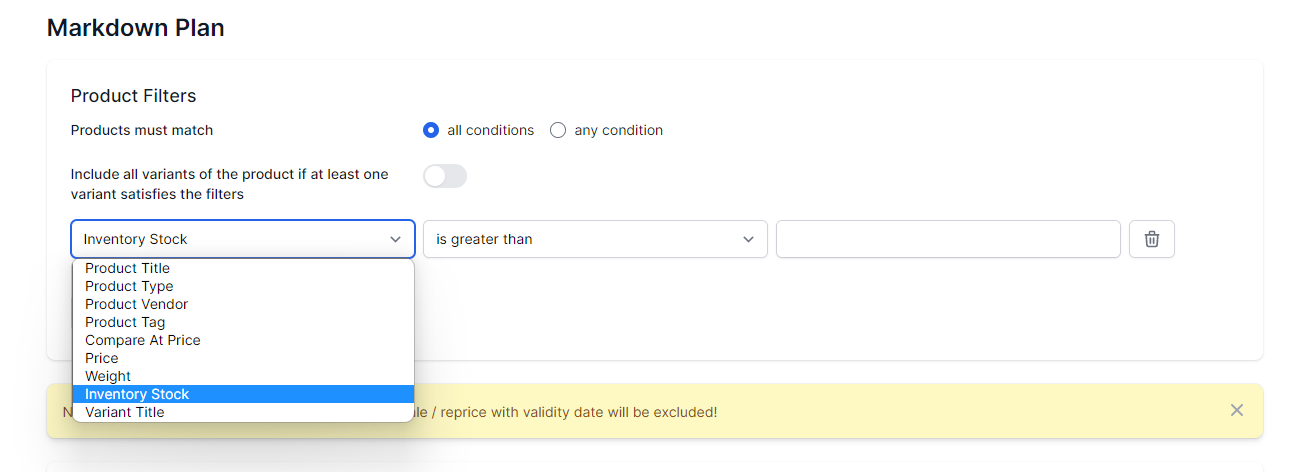
- You may add conditions based on your target products
- You may opt in if you want all products that meets one or all conditions
- You also have the option to choose if you would like to automatically include variants of a product if one of them meets your set condition.
5. Indicate a Description and Start Date.

6. Set your pricing rules. You can now choose to Increase/Decrease your selling cost for a specified duration based on the stock level.

These pricing rules will run in phases and subsequently so you may continue to add the next rule as preferred.
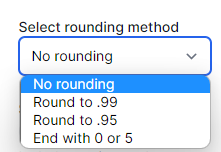
7. Configuring Charm Pricing. Select if you would like to incorporate pricing strategies:
8. You may choose to sell at a loss. This is applicable if you’re dealing with dead stocks or seasonal products that you need to clear out immediately.

9. Include Product Tags. This will help you organize information in your Shopify store. You can later on filter products in Shopify based on this tag. Hit Submit afterwards.

10. Confirm Request. A confirmation page will pop up and you can review the summary of your request. Once finalized, hit Confirm.