How to start a podcast in 2021
This step by step guide covers how a beginner like me came up with a podcast strategy, figured out audio equipment, software services, and more in just $274. Sharing this guide to help anyone thinking of starting a podcast in 2021.
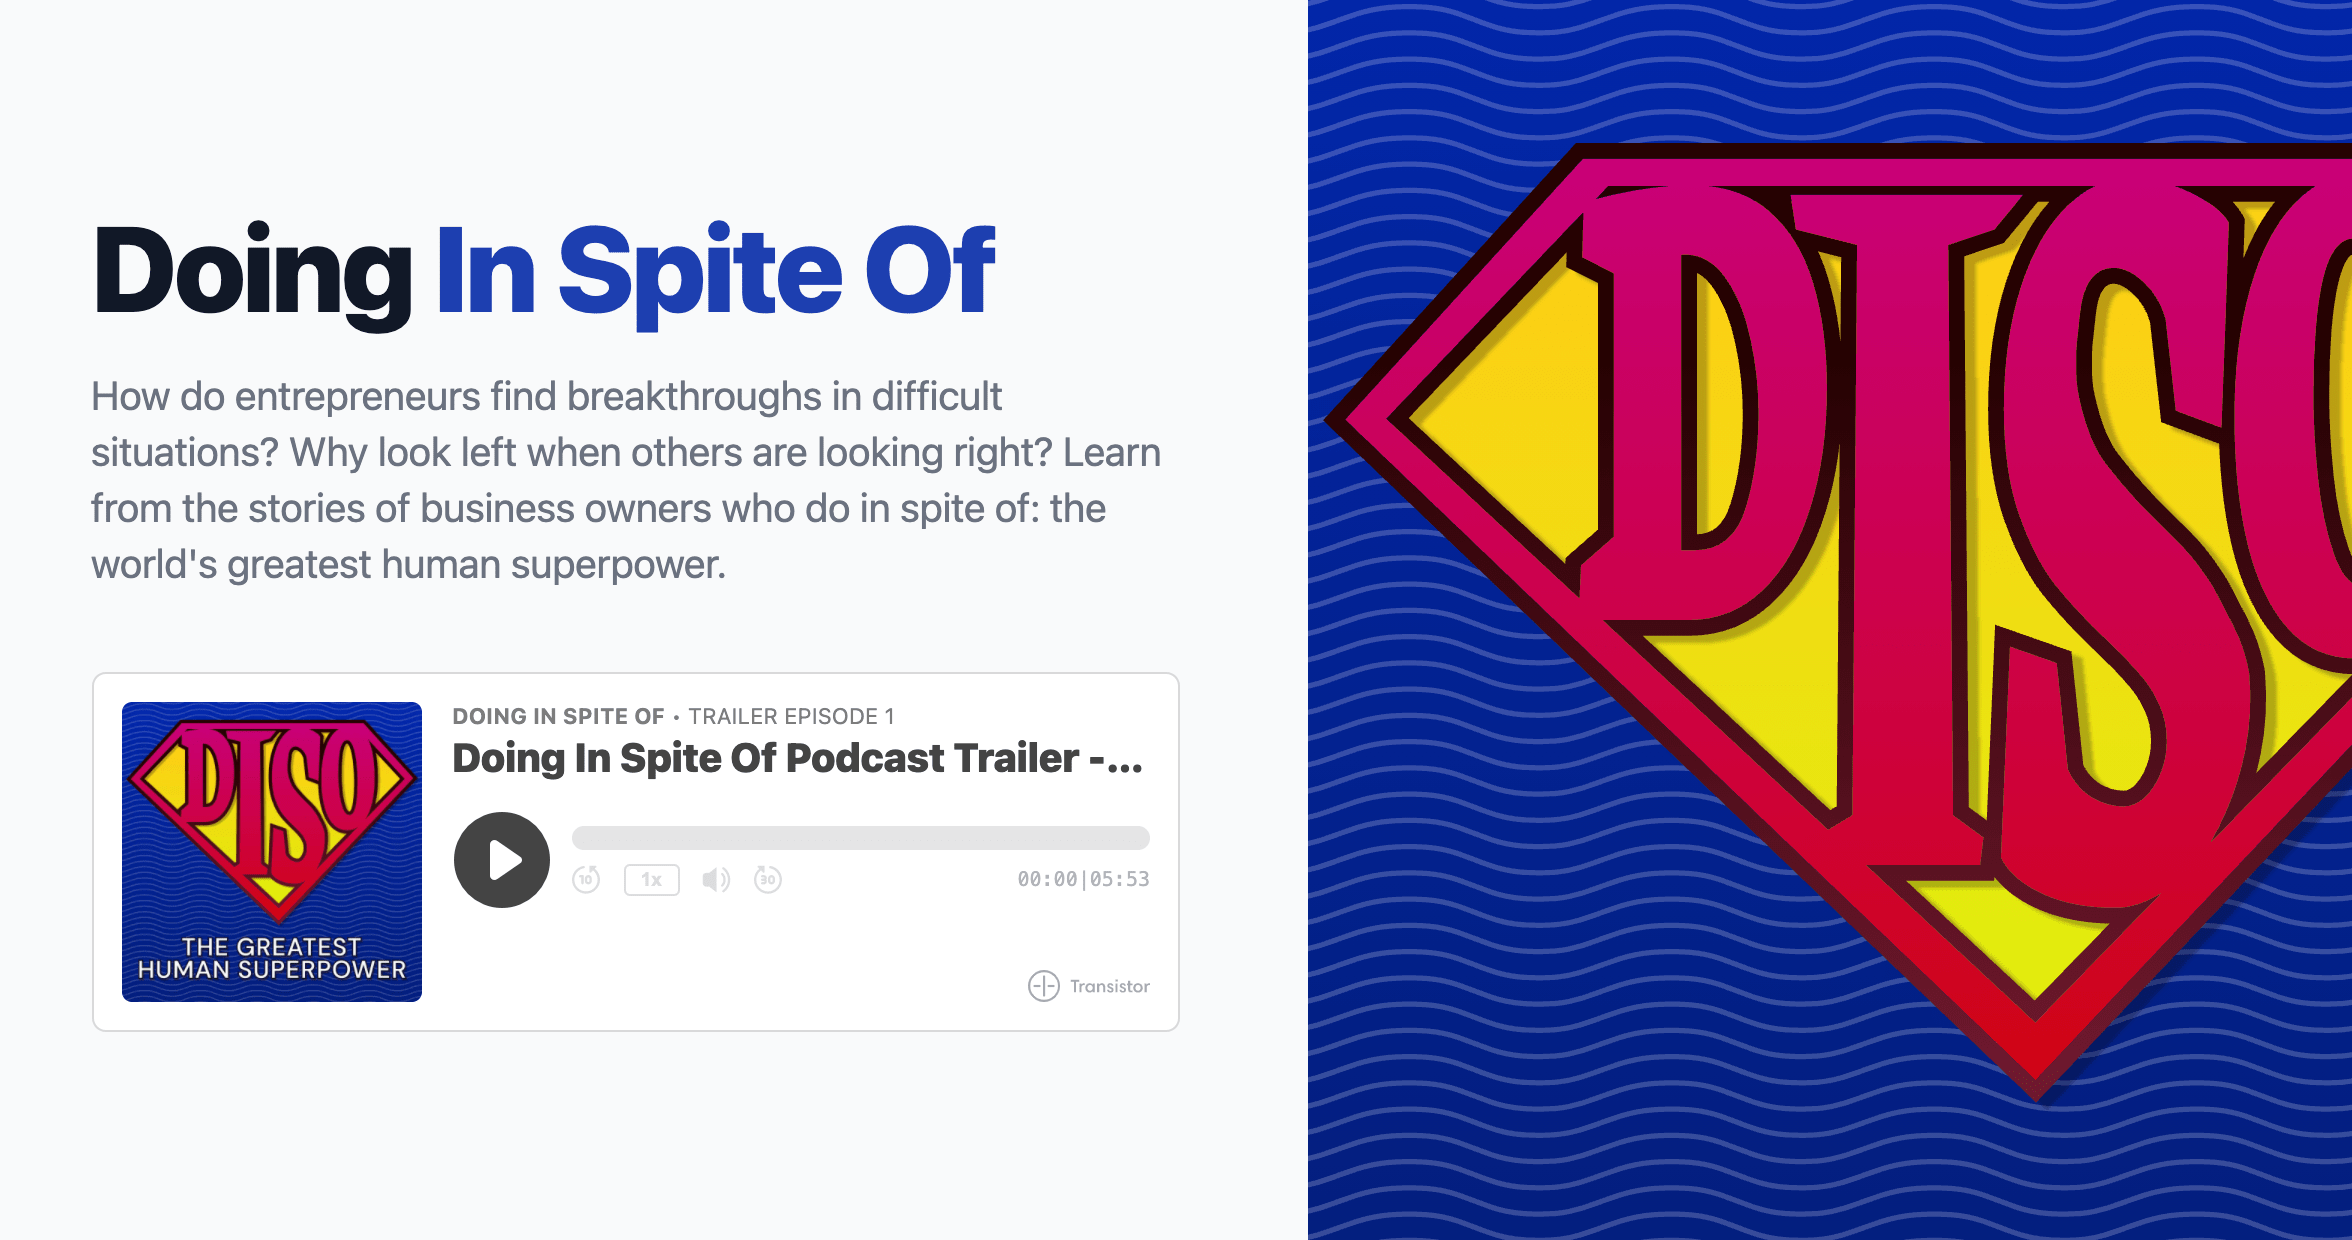
Working with different business owners, I learnt about the amazing challenges they’ve overcome to make their business come to life. A common theme that comes back over and over again: people doing things in spite of. In spite of personal challenges, lack of skills, resources, businesses make things work and succeed.
We felt that these stories can also help others make amazing things happen, and so we decided to set up a podcast to document these journeys that business owners have made. It’s something I had no idea how to start, but it has been surprisingly rewarding, and quite achievable given the tools that currently exist.
If you’re thinking of starting a podcast, I hope this guide can give you some ideas on how to go about it with minimal capital, and run it effectively as a one-man show.
Here’s how I’ve created a professional podcast from scratch with just $274.
Coming up with the Podcast Strategy
First I settled on what I wanted to achieve with this podcast, and who my target audience would be. In this case, I wanted to target other business owners and aspiring entrepreneurs. I thought about what kind of topics fellow business owners would like to talk about, and what would resonate with them.
And because this podcast would feature stories of business owners, it would best if the anecdotes came from the business owners themselves. So I decided every episode would have at least one business owner as a guest.
I listened to a number of other podcasts to decide what kind of approach would work best for Doing In Spite Of. I particularly admired the podcasts that structured their content well, and were highly focused on key lessons, or takeaways. Not only was it more enjoyable to listen to, it also helped me remember what I learned, and what these guests stood for. I wanted to focus on a few key lessons that listeners can pick up very easily, and remember well as they walk away each episode.
These key aspects are what I used to start planning my first episode.
Planning the first episode with your guests
Now that you know your strategy, you can plan how you want your podcast to go. Since each of my episodes has a guest in it, I came up with a list of questions to help guests think of the key stories they’d like to share. Here is some that I brainstormed:
- Pivotal times in their business, and how they went about them.
- Their value systems, and how they practice it in their day-to-day operations
- Contrarian views they have about assumptions people make (on a strategy, or about an industry)
- Unconventional decisions that their peers disagreed with
- Reasons that drive them to “do things in spite of”
The goal here is to give clear direction to your guests, and make them feel as comfortable as possible to record their stories. Once a guest has agreed to come onto the podcast, I send them a “welcome pack” that details the process of recording a podcast episode.
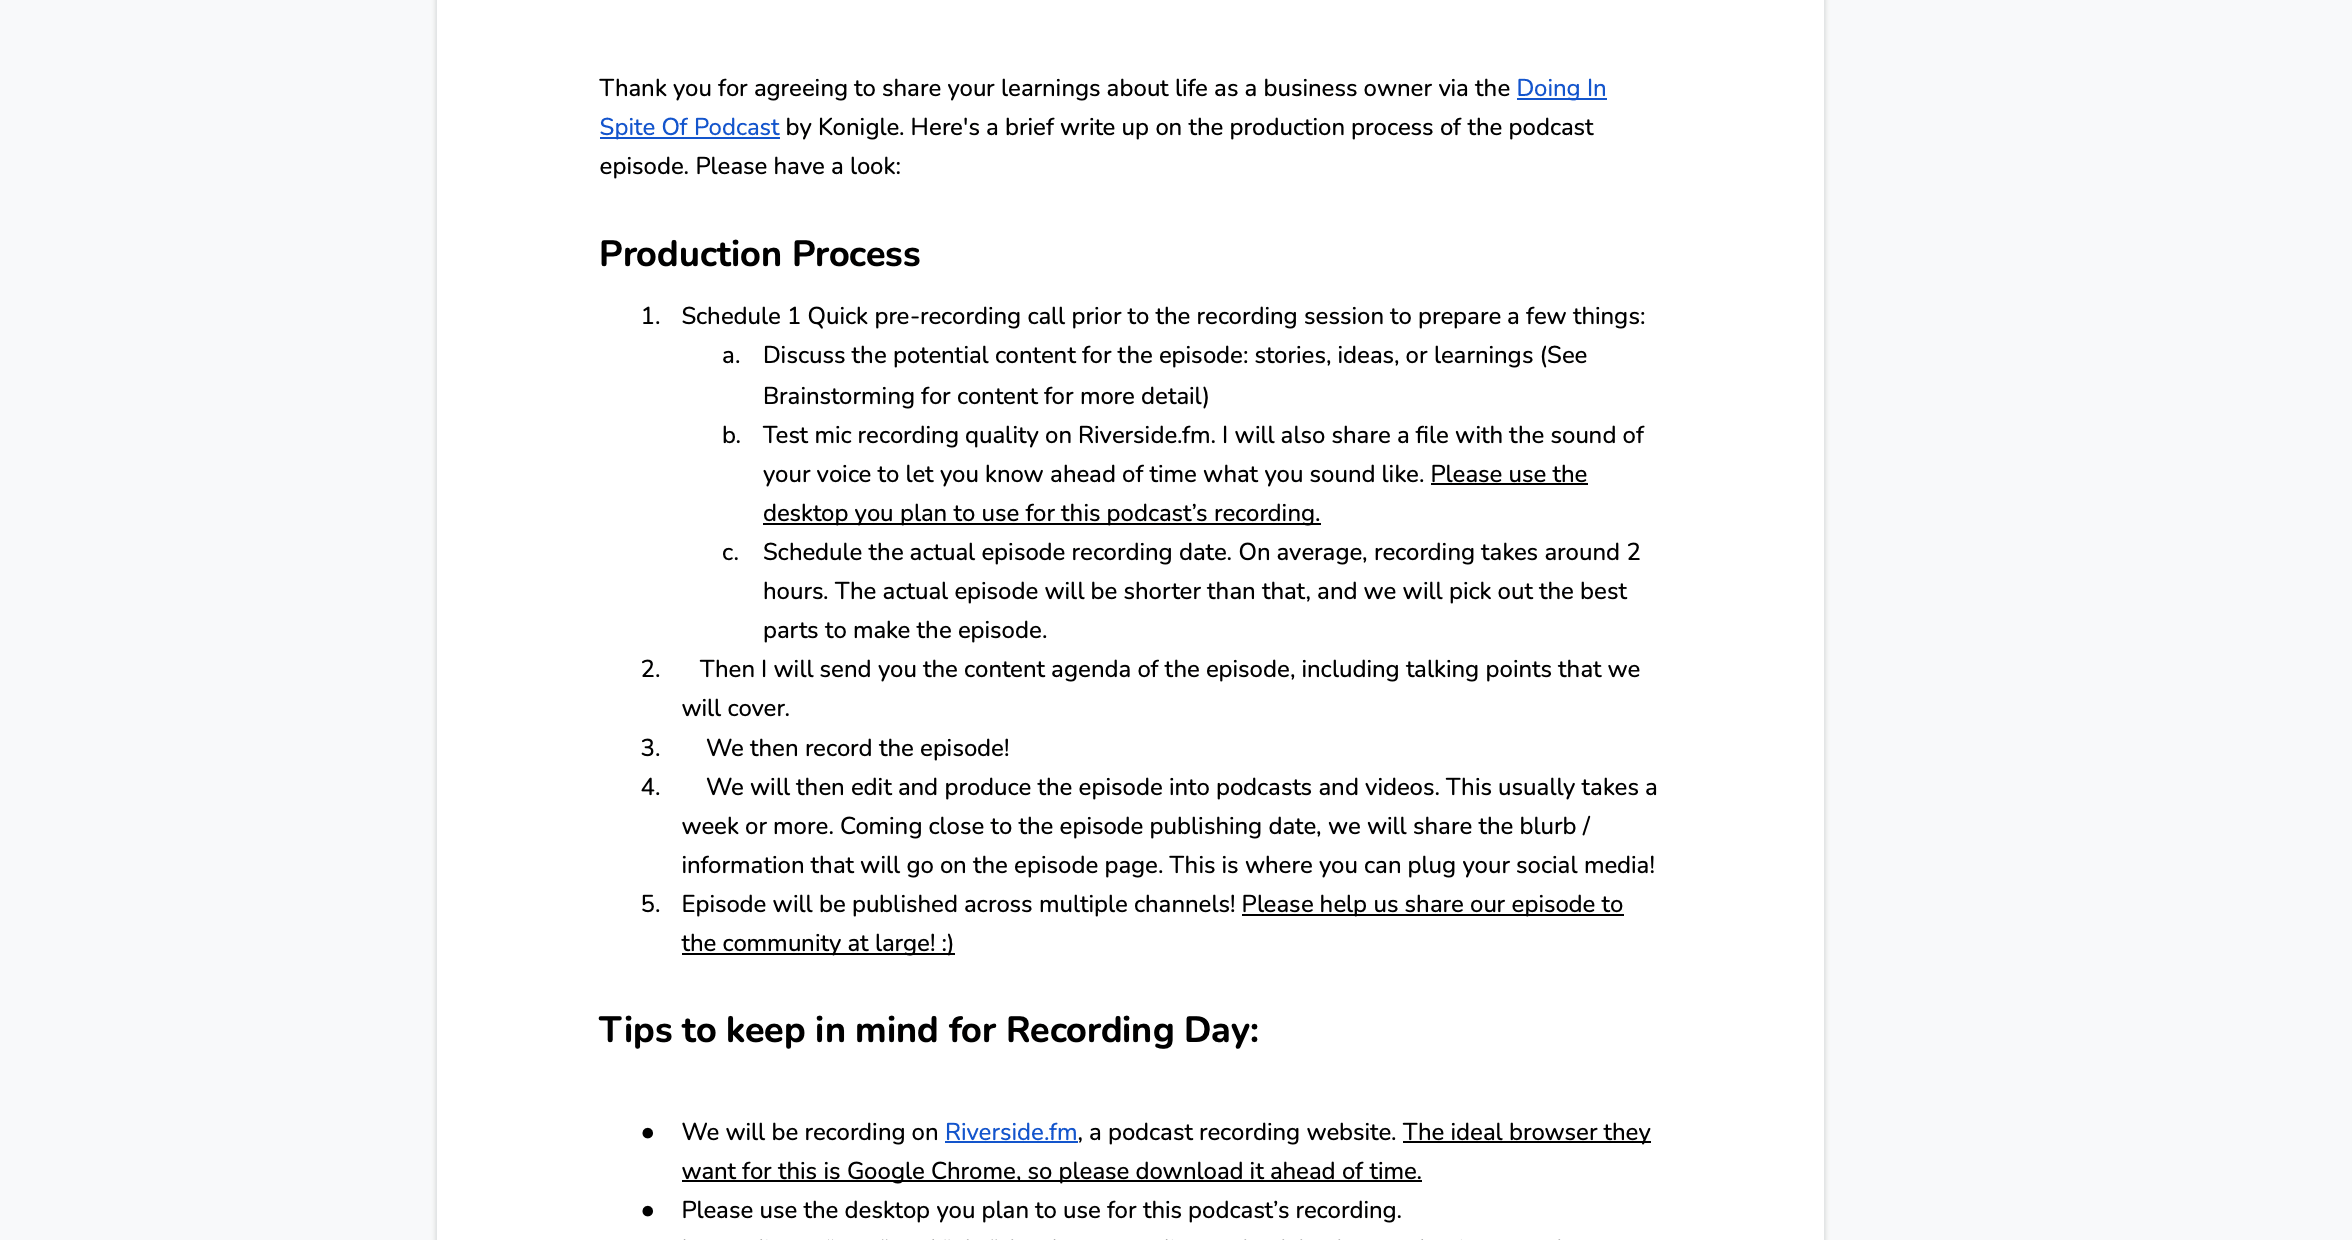
For the first episode I first had a “pre-call” with my guests, and spent about 30-60 minutes introducing the episode, going over the objectives of this episode, and having them talk through different ideas they’d like to share. Then we picked out key takeaways and the best stories that formed the schedule of the episode.
Initially I only recorded the actual recording session, but later on I found recording the pre-call is useful as well: not only to get the guests familiar with the sound of their own audio, but also the environment in which they will eventually record their episode. It also helped me occasionally pick up some clips that worked well with the final episode itself.
Now it's time to get ready to record!
Setting up your own recording environment
Choosing a “recording studio”: Starting a podcast in a pandemic leads to some interesting situations. All our recordings had to be remote for safety reasons. So I looked for a service provider that can help create high quality recordings without making it difficult for my guests. I chose Riverside.fm based on the quality of the recordings. It worked really well to record users even if they had poor internet connections.
Choosing a Mic: I bought a mic that was best suited for getting a good recording quality, with minimal set up. Many mics require you to buy an amp, come with a software, have lots of options. I found the Razer Seiren Mini Mic to be the best value for money, and easiest to just plug-and-play to start recording.
Use what you already have. I recorded all episodes from my home. I put a thick blanket over me and my mic, and attached a corner of it to the ceiling so that the whole weight wasn’t on my head! Any thick fabric or carpet also works here. The goal is to isolate all sound that’s coming from the same direction as your voice.
Standardize how you use your mic. I recorded myself at the microphone at various lengths away from the mic, to figure out how far away from the mic records the best sound. I noticed that this affected the audio quality a LOT from episode to episode. Because I didn’t have a pop filter, I had to optimize between strong recording volume and picking up all the pops and smacking sounds.
I also shared my recording schedule with my roommates, so they know to avoid making noise during the times I was actively recording an episode.
Learning how to Edit Audio
There’s a lot of audio editing tools available today, and it can be a real wormhole trying to decide which software to pick up. I didn’t have any audio editing experience, so I decided to choose the tool that balanced between functionality and ease of use.
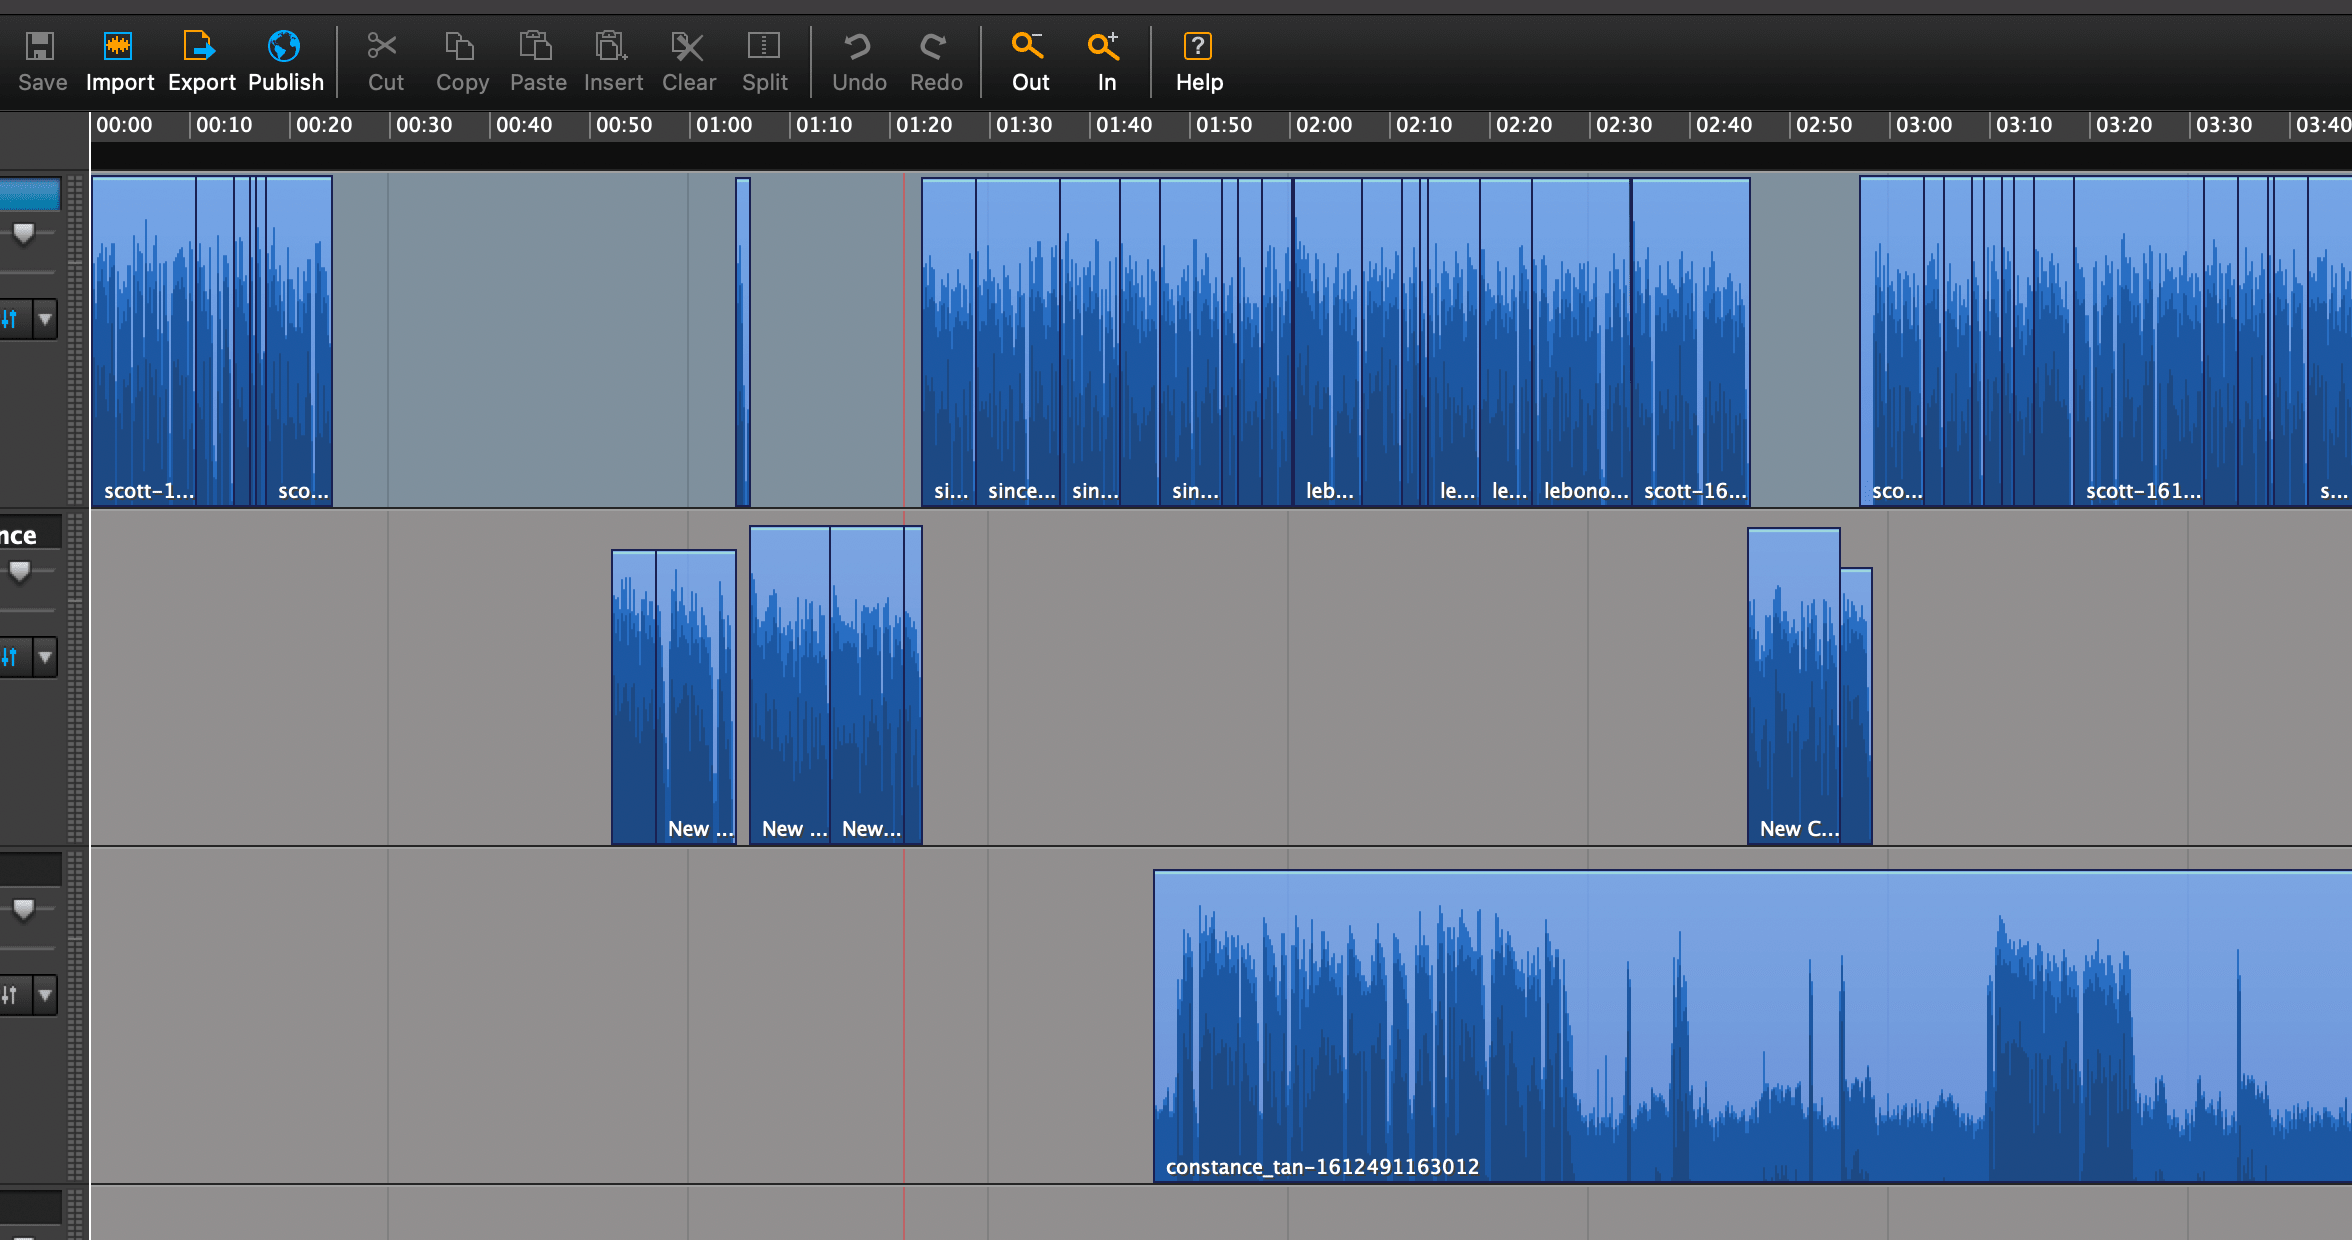
Hindenburg was the software I settled on. I watched 3-4 videos of tutorials and found that the interface was relatively simple, so I decided to give it a try. Their software is heavily focused on speaking audio, and about automating as much work as possible. Because of that, I was able to figure out most of the features within a few days.
My approach to editing my episodes is on average more extensive than the typical podcast. Even after the pre-call, guests can jump around topics quite often, or one thing they talk about earlier is more relevant for a portion later in the call. In addition, most of my recording sessions can be 1-2 hours long, but I wanted each episode to be around 20-30 minutes.
Most of all, I wanted to make sure listeners had a great listening experience. I decided it was worth the time to smooth out vocal tics and pauses to make the guests sound better. Different guests also had different mics that they’re working with, so it was quite a manual process optimizing each guest’s audio. This is the downside to not recording in a studio, but given today’s circumstances I think it was worth the trouble in the end. The process of this is a bit difficult to explain, but with every episode you get better at doing it!
When choosing a theme song for our episode, I looked through many royalty-free libraries to find the music that will best suit our podcast. Admittedly, this took longer than I expected, and I shared these songs with my friends and colleagues to help me choose one that worked the best. The website I chose my music from is Epidemic Sound.
As I’m editing, I’d usually sent the guest two drafts: one rough draft to confirm with them the content, and the final draft that’s really close to release. This is to ensure the guest is happy with how the episode is going to go, and let them voice out any concerns early before the rest of the world hears them.
Finally, I uploaded the final draft onto Transistor.fm. The first podcast episode is live!
Transcribing your episode
Each podcast episode needs to have its own page, and contain the transcript of the episode. I’ve tried a few methods of transcribing the audio from this episode:
Doing it manually. This method was the most accurate, but took up the most amount of time, and was incredibly tedious. I took around a day or two, putting the audio at 0.5x speed typing furiously to get the transcription out. After the first episode, I decided to look for an alternative solution.
Outsourcing the Transcribing Transcription work for 30-50 minutes usually costs around $40-$80 depending on the freelancer. While paying for a freelancer did save me at least half the time, I still needed to go through the entire transcript in detail to ensure everything was transcribed correctly. Overall, I felt what I paid for didn’t save me that much effort.
Using Google’s AI This method was actually just as accurate as the outsourcing method, but there were some workarounds I needed to do. I took some time to learn how to interact with the transcribing API and upload my audio files, and outputting the transcription in a way that’s usable. This method is technically free, but is relatively cheap moving forward as well.
Distributing your Podcast
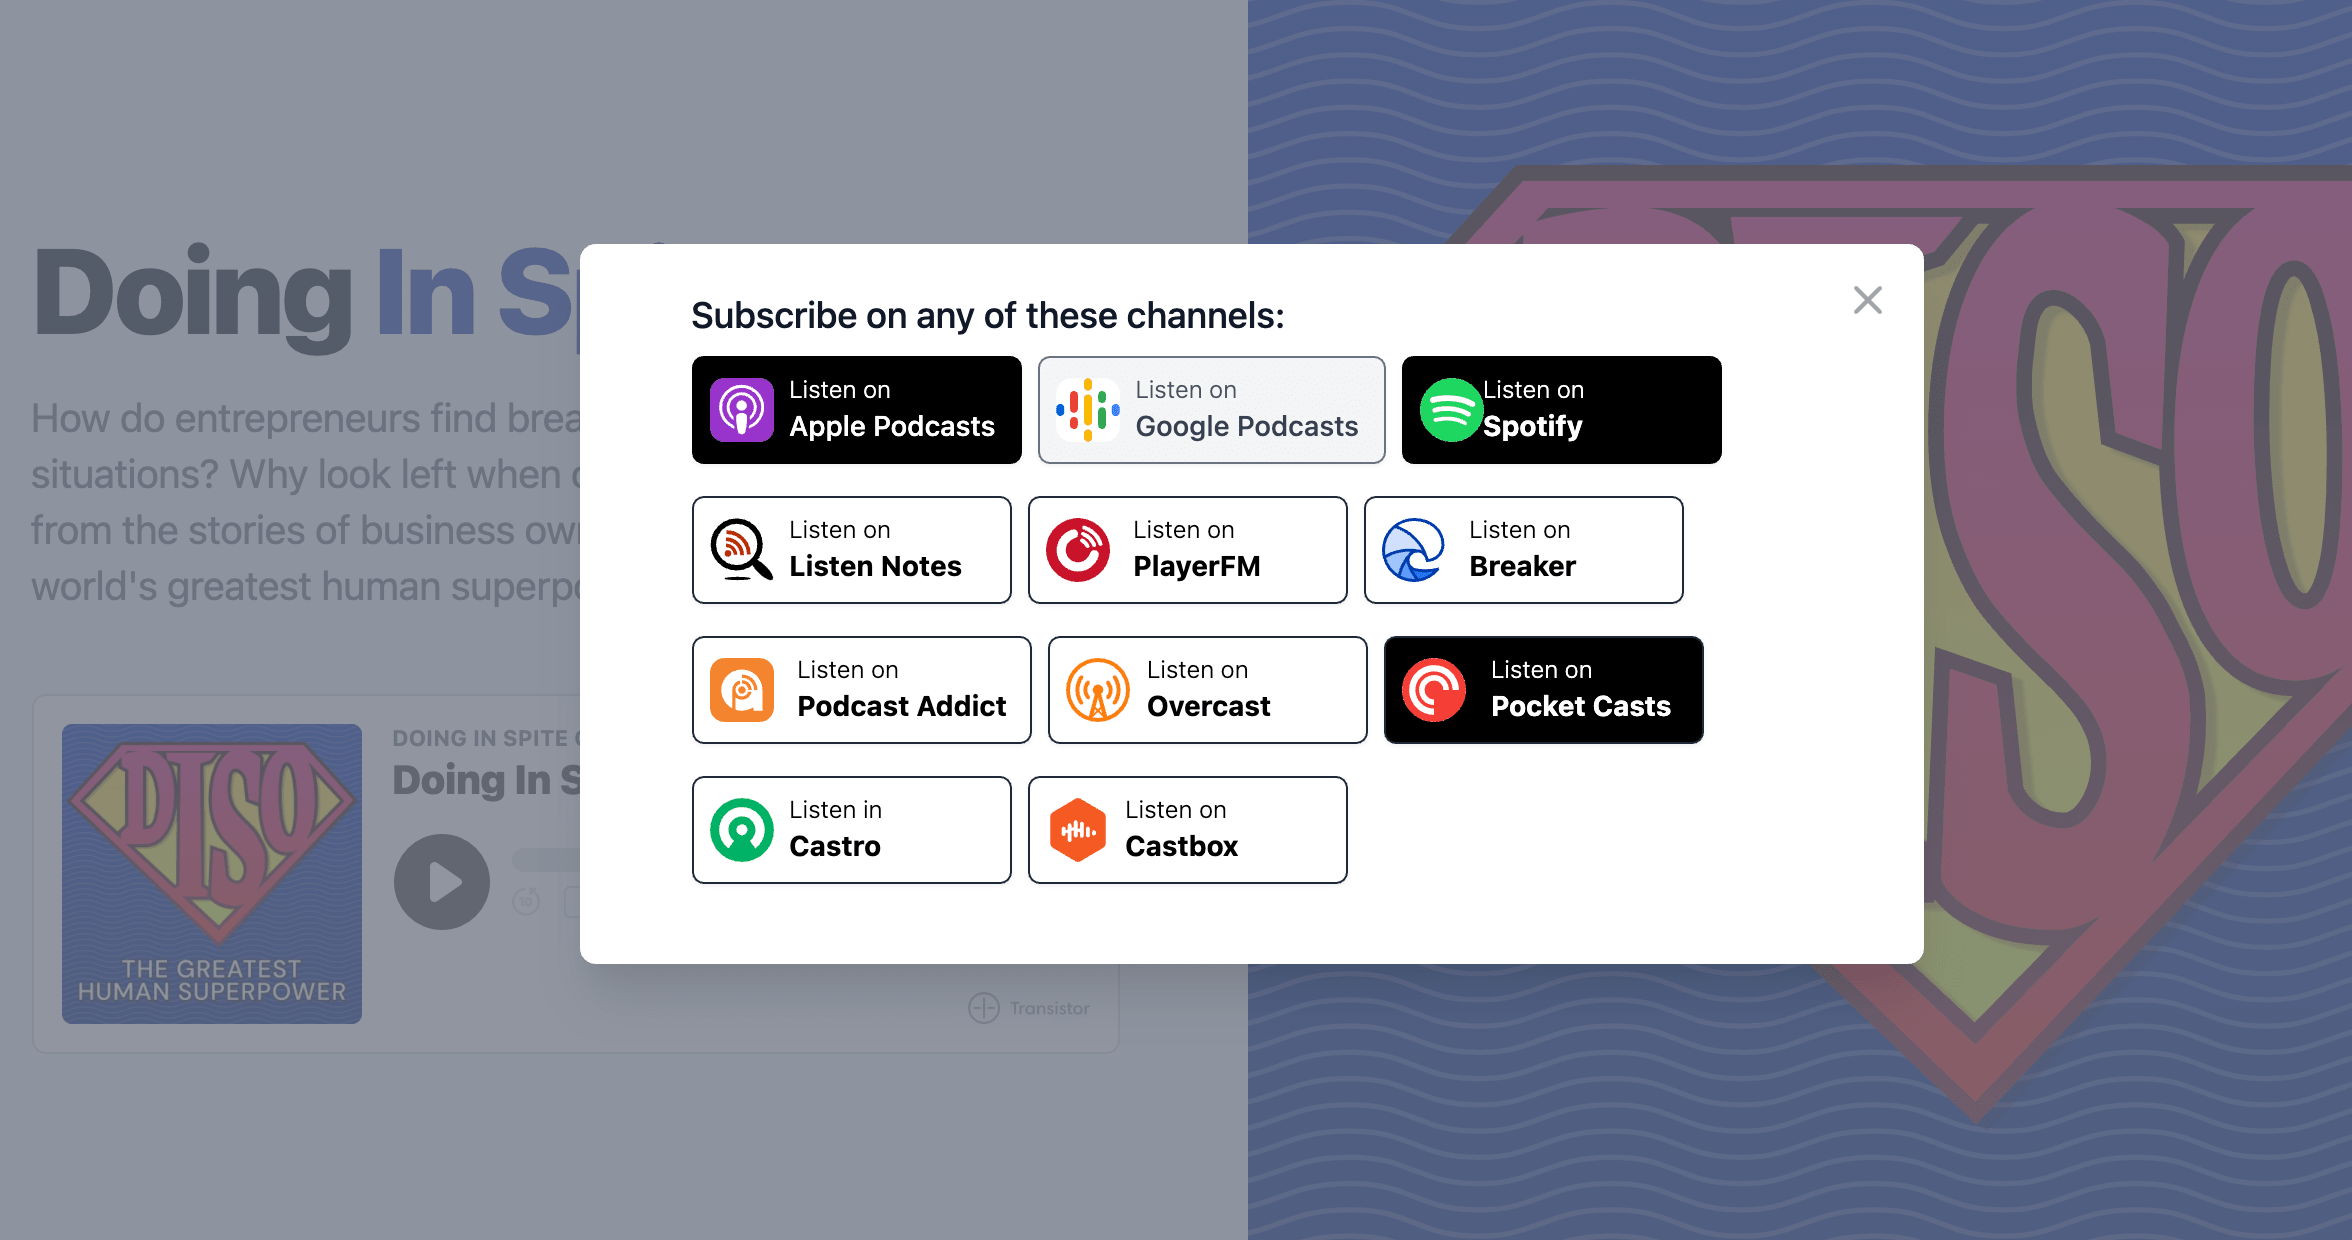
I used Transistor.fm to create the RSS feed for Doing In Spite of, which also made it an effective way of distributing it to Google Podcasts, Apple Podcasts, and across 9 other podcasting platforms. This allows different communities on different platforms to discover your podcast more easily. Remember to SEO your podcast titles so that the right people can find your podcast.
Creating your podcast website
Your podcast needs a website of its own. This is so it becomes more searchable on Google, and becomes an easier home to share
Transistor.fm (like many podcasting solutions) provides a website with minimal editing options that is free. This is absolutely fine, but I wanted more control over my podcast website, so I built my own and embedded Transistor’s podcast player in each page.
I used TailwindCSS, which helped me quickly build up the components needed to run the website. This requires moderate amounts of CSS and HTML knowledge, so really do skip this part if that’s not your thing. I then hosted it on Github, which made making changes to the website super easy to do.
Once I created my website, I created the first episode page, added the episode player and its transcript, and pushed it into the world. My podcast became official live!
Total Cost of Creating a Podcast from Scratch
Recording Mic - S$70
Hindenburg software - S$139
Transistor - S$25/month
Riverside - S$20/month
Podcast Music - S$20
Total Cost: $274
I will still continue to try different podcasting solutions out there. There’s no shortage of new tools, or new services that help anyone start and run a professional podcast of their own. I hope this guide was helpful. If you’ve managed to start your own podcast, drop me a message! I’d love to listen to what you’ve made.
Some Notable Mentions
Headliner - Creating audiogram videos from Podcast episodes. View an example video that I made for my podcast.
Podbean - A good Transistor.fm alternative

Join 10,000+ people and get insights to make money from your website
Sign up for our newsletter.
Get insights to make money from your website
Subscribe to the Konigle newsletter
We care about the protection of your data. Read our Privacy Policy.
You may also like